13 Halloween SVGs for Cricut: Shirts, Decor and Treat Bags Ready to Cut This October
13 original Halloween SVGs — shirts, treat bags and porch decor — with the exact vinyl, HTV and cardstock settings to cut and weed each one.
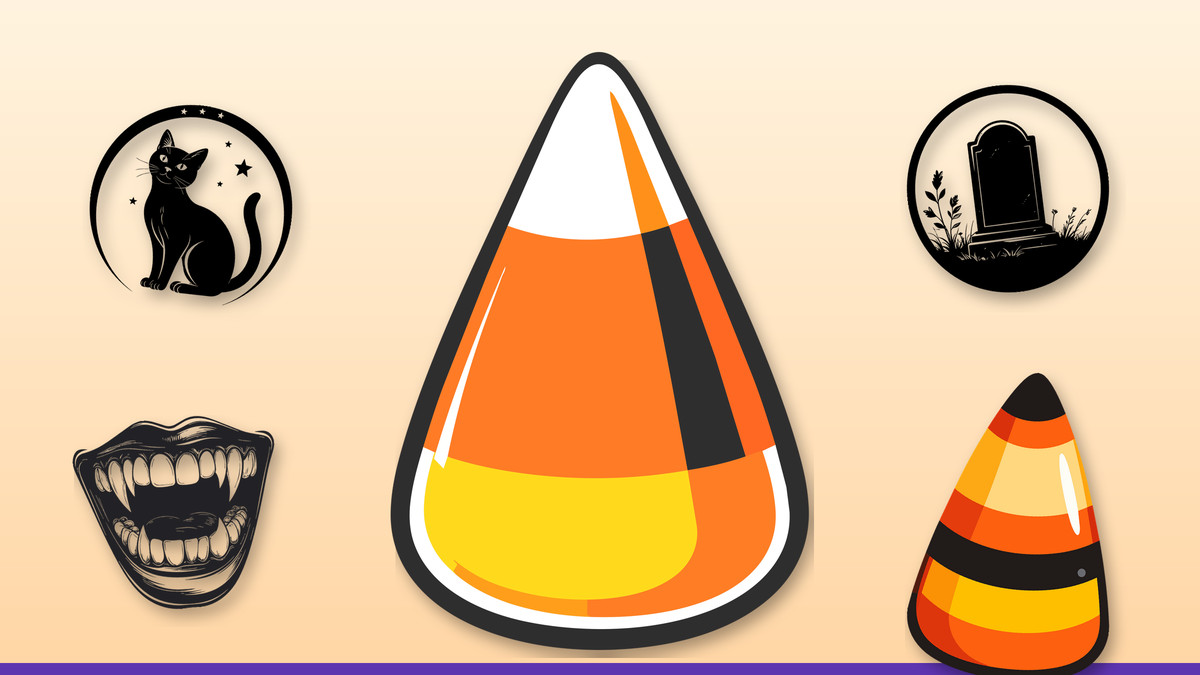
October is when Halloween searches spike hardest on Pinterest and Etsy, and shoppers aren't browsing — they're buying for a party this weekend or a costume that's due tomorrow. That urgency rewards sellers and crafters who already have cut-ready files on hand instead of scrambling to design from scratch. This roundup pulls together thirteen of our Halloween SVGs — candy corn, a black cat, ghosts, vampires, a cauldron and more — built specifically for shirts, porch decor and trick-or-treat bags, so you can start cutting today.
We designed each file the way we'd cut it ourselves: bold enough outlines to weed quickly, layer counts kept low, and sizing that scales from a toddler tee to a tumbler wrap without losing detail. Most of these cut cleanly on a fine-point blade in 651 permanent or 631 removable vinyl, and press well in standard HTV at 300-310°F. A few — the multi-color mouths and the kawaii ghost — are built for print-and-cut, so plan for a printable vinyl sheet if you want the full color effect.
▶ View this guide as a Web Story
1. A Beginner-Friendly Cut Even New Vinylers Can Weed Fast

The heavy black outline and just three solid color blocks make this one of the easiest cuts in the lineup — perfect if you're still building weeding confidence. Layer it in 651 permanent vinyl for a trick-or-treat bucket decal, or cut in orange, yellow and white HTV pieces layered by color for a shirt. Size it around 3 inches for a bucket, 8 inches centered on a youth tee, and press HTV layers largest-to-smallest at 305°F for 10-15 seconds each.
Get this design · $0.89SVG · PNG · DXF
2. The Silhouette Design That Works On Almost Any Product
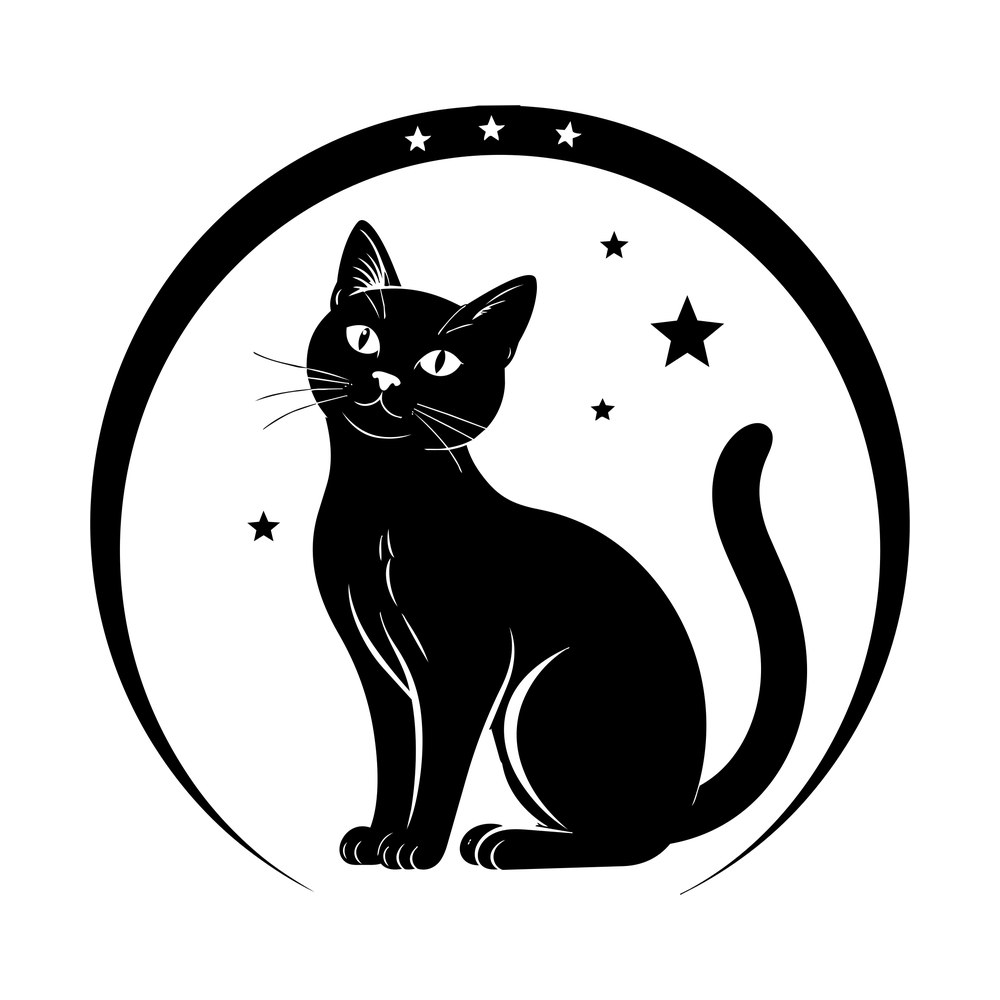
This one earns its keep because the cat's clean silhouette reads well tiny on a tote or oversized on a door hanger. The scattered stars are the only fussy part — weed those small triangular points first with a fine hook tool before tackling the cat body, or you'll tear the surrounding vinyl. In 651 adhesive vinyl it's a sharp porch or window decal; in glitter HTV at 10 inches it's a standout tee.
Get this design · $0.89SVG · PNG · DXF · EPS
3. A Porch-Sign Design That Doesn't Need a Second Layer
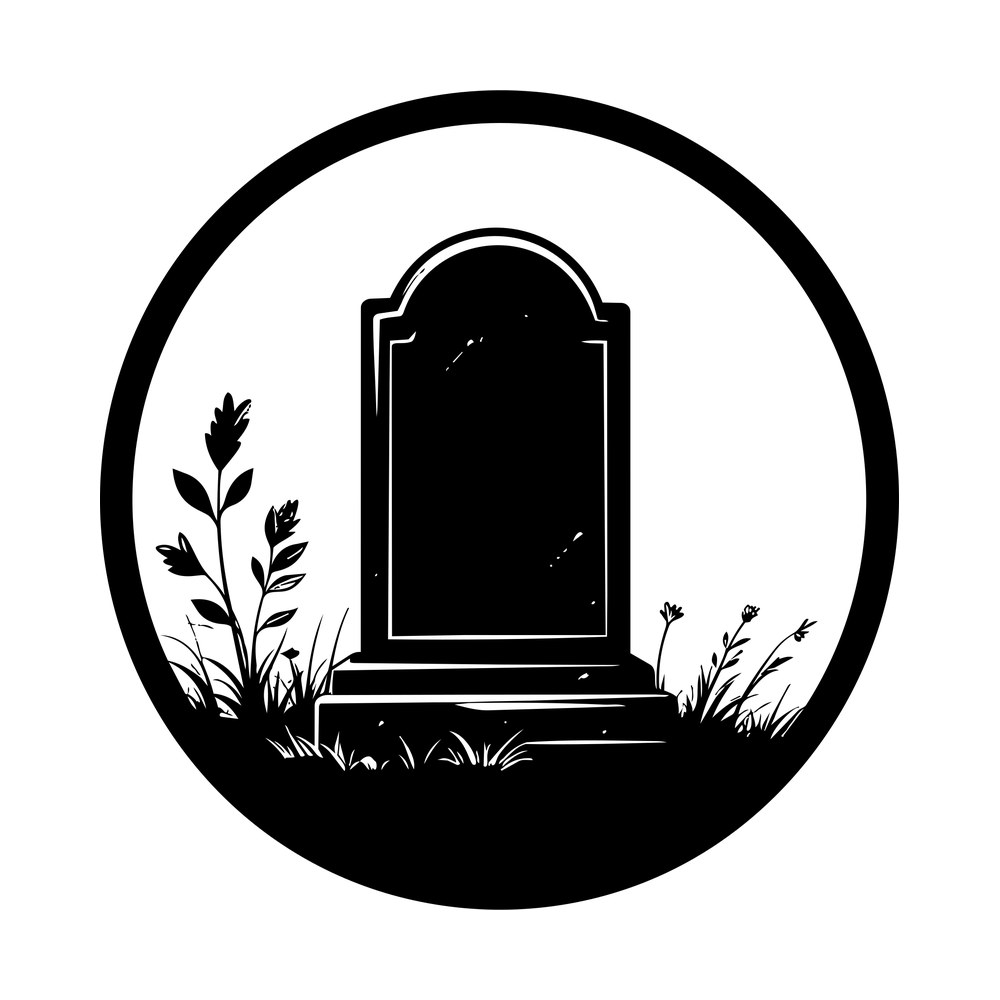
The solid-fill base at the bottom of the circle gives this badge visual weight without adding cut complexity, making it a fast one-layer project. Cut it from 651 vinyl onto a painted plywood round or MDF blank for a durable porch sign, or scale down to 4 inches in cardstock (65-80 lb) for gift tags. For fabric totes, fuse with regular HTV and a firm press — the fine grass stems need full, even pressure to adhere.
Get this design · $0.89SVG · PNG · DXF
4. Loose Ink-Line Art That Reads Best Small and Single-Color
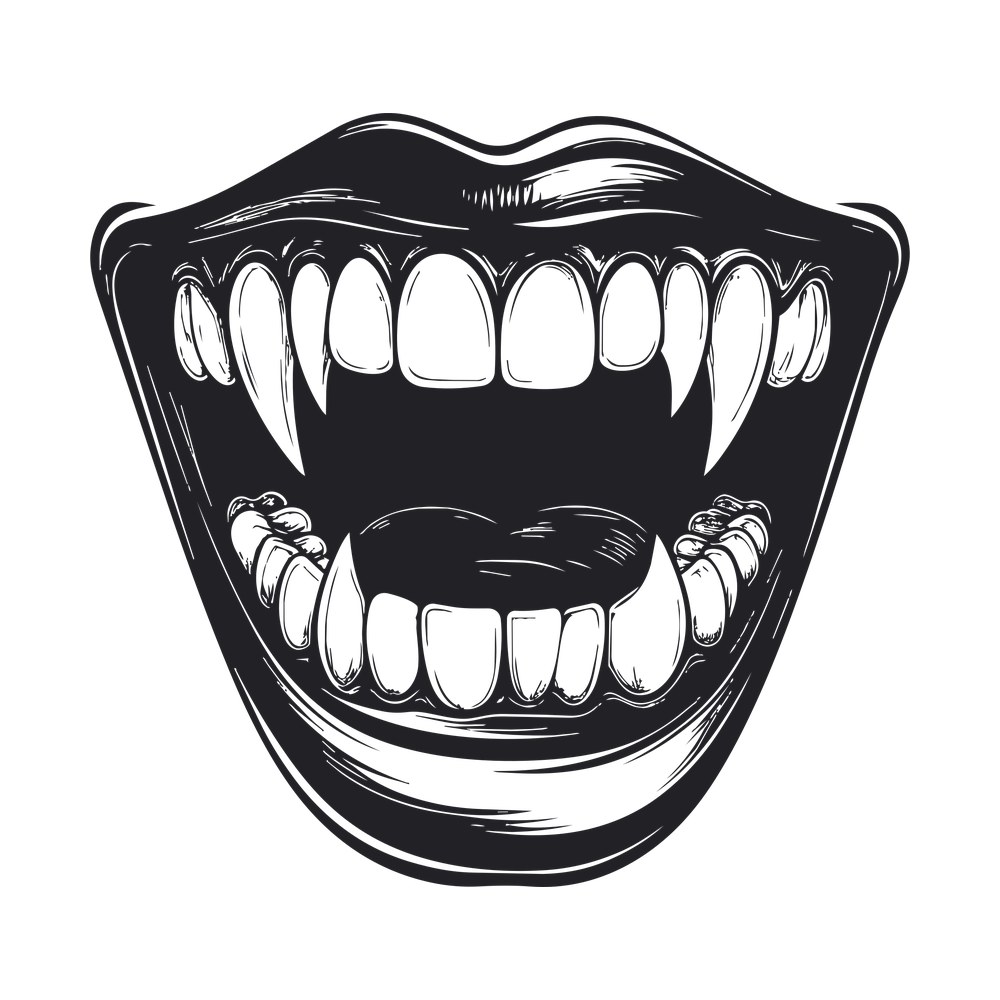
The shading in the tongue and lips comes entirely from line weight, so it cuts cleanly as a single-color design — no registration headaches. Keep it under 3 inches for a mug decal using permanent outdoor vinyl (hand-wash only, since it isn't dishwasher-rated), and size up to 9-10 inches in black or red HTV for a party tee. Mirror before cutting iron-on, and use a fresh fine-point blade so the fang tips stay crisp.
Get this design · $0.89SVG · PNG · DXF · EPS
5. A Striped Design Built for Layered Vinyl Practice
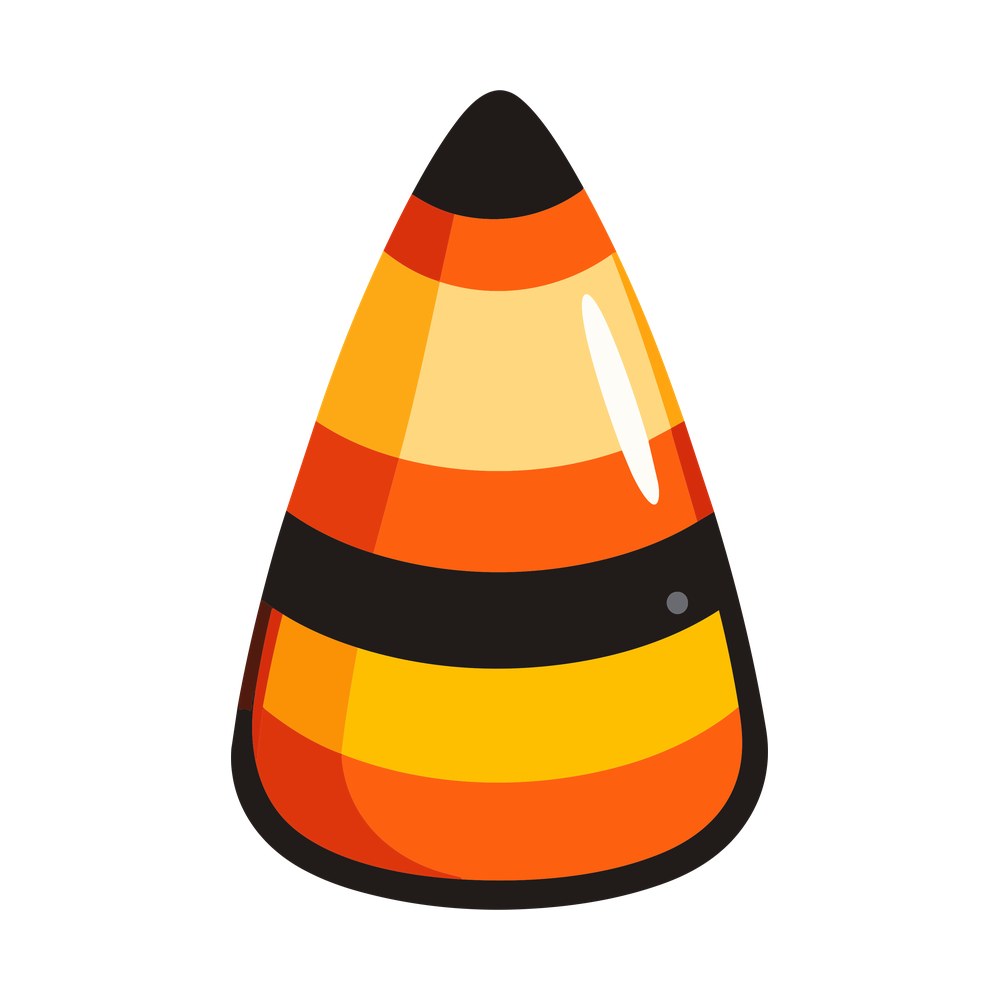
With four distinct color bands plus a glossy highlight, this piece is a good next-step project once you're past basic single-layer cuts. Cut each color separately in 651 vinyl and use transfer tape registration marks to stack them accurately, or simplify to two-tone HTV (orange base, black stripe) for a kids' shirt that still reads clearly at 6-7 inches. It also works well printed on cardstock as a porch welcome sign.
Get this design · $0.89SVG · PNG · DXF
6. The Cute Design That Moves Fast on Tumblers

Kawaii-style faces like this ghost sell consistently at markets because they work across kids' apparel and drinkware alike. Print-and-cut the full-color version onto permanent printable vinyl for a 20 oz tumbler wrap sized to about 9.5 x 8.25 inches before wrapping, or cut it in orange and white HTV layers for a toddler tee at 6 inches wide. Round the corners of small pieces like the sparkle when weeding — they lift easier than sharp points.
Get this design · $0.89SVG · PNG · DXF
7. Script Lettering That Needs a Slower Weed, Not a Harder Cut
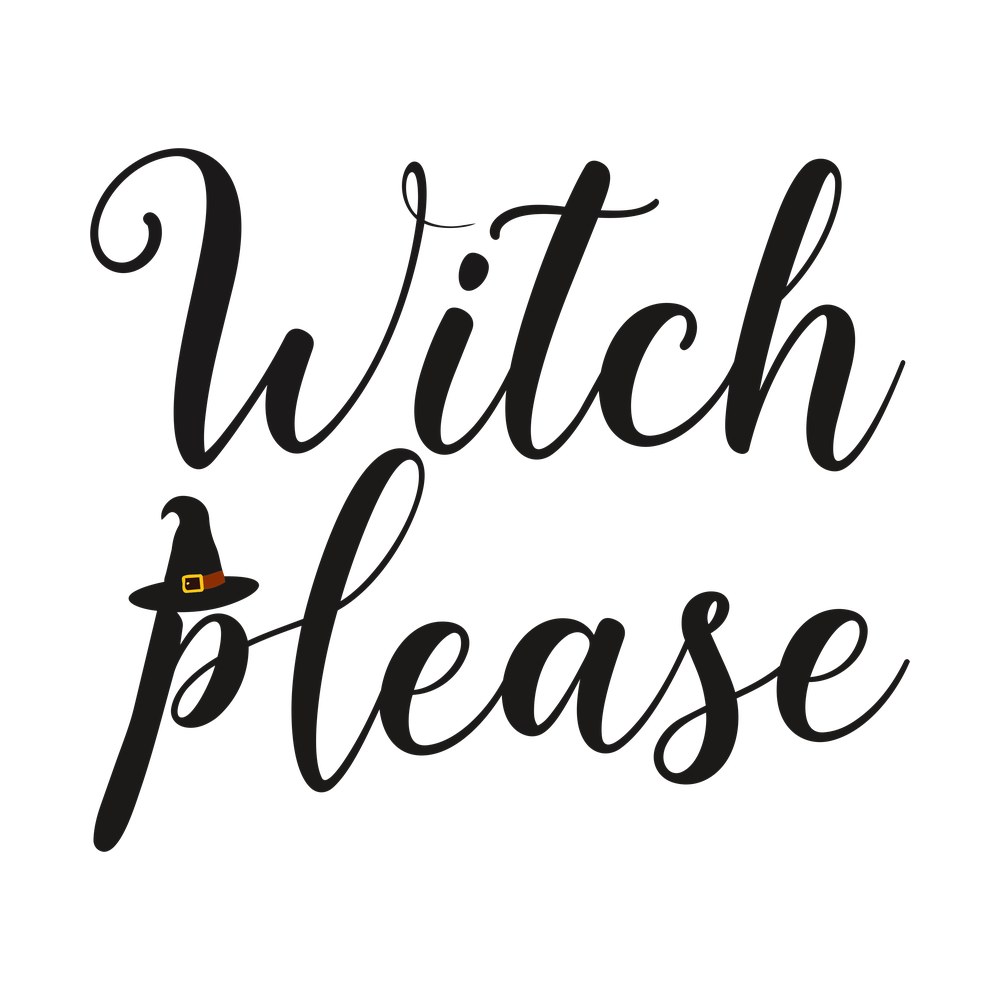
Connected brush-script letters like these are more about patient weeding than machine settings — pull backing at a low angle and use a weeding hook on the thin joins between letters so you don't stretch the vinyl. The witch hat perched on the 'p' acts as a natural focal point, so keep it whole rather than trimming it separately. Glitter or holographic HTV at 9-10 inches wide makes a strong party tee; it also cuts cleanly as a one-layer front door sign in 651.
Get this design · $0.89SVG · PNG · DXF
8. A Detail-Heavy Design That's Worth Slowing Your Cut Speed For
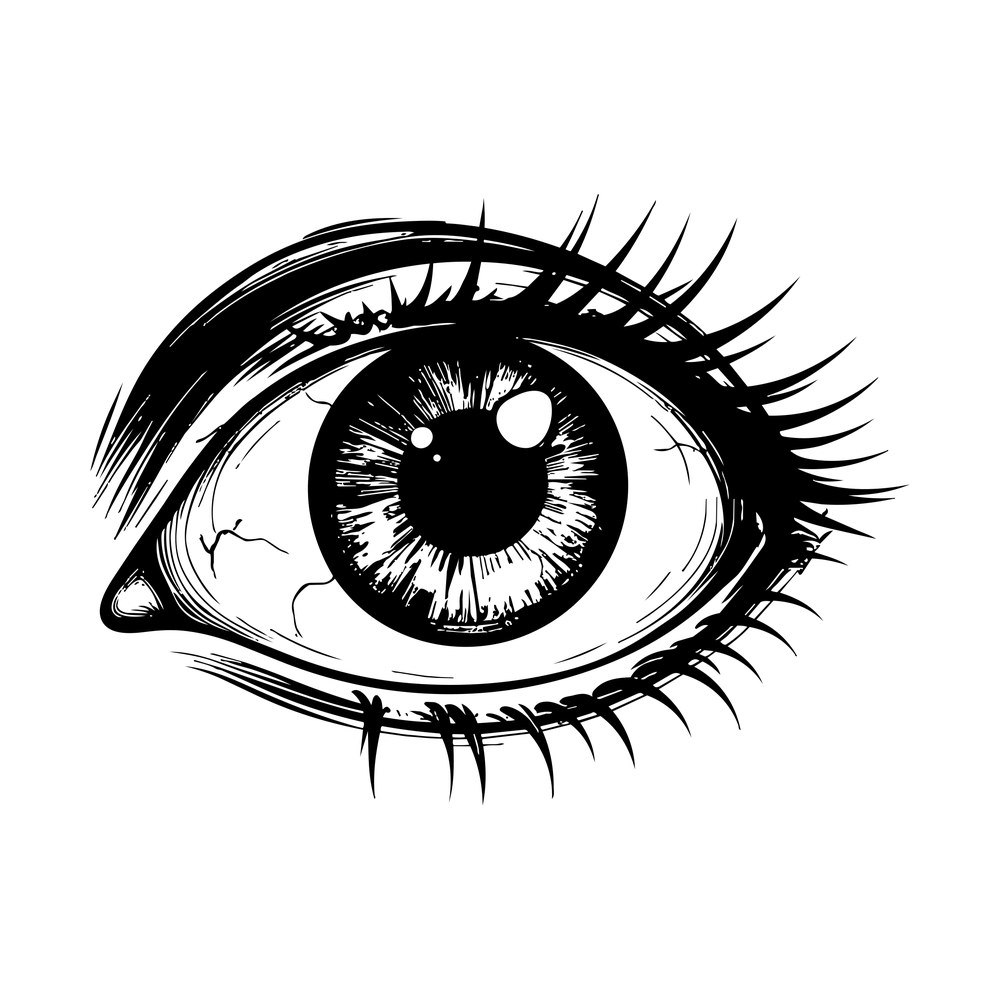
The radiating iris lines and spiky lashes pack a lot of small cuts into a small space, so drop your machine's cut speed and use a fresh fine-point blade to keep every line intact. It's striking as a 4-inch removable 631 vinyl decal on a bathroom mirror, and just as effective blown up to 10 inches on a tee in matte black HTV. Weed the iris lines from the center outward so you're not fighting your own tool.
Get this design · $0.89SVG · PNG · DXF · EPS
9. The Classic Jack-o'-Lantern Every Family Set Needs
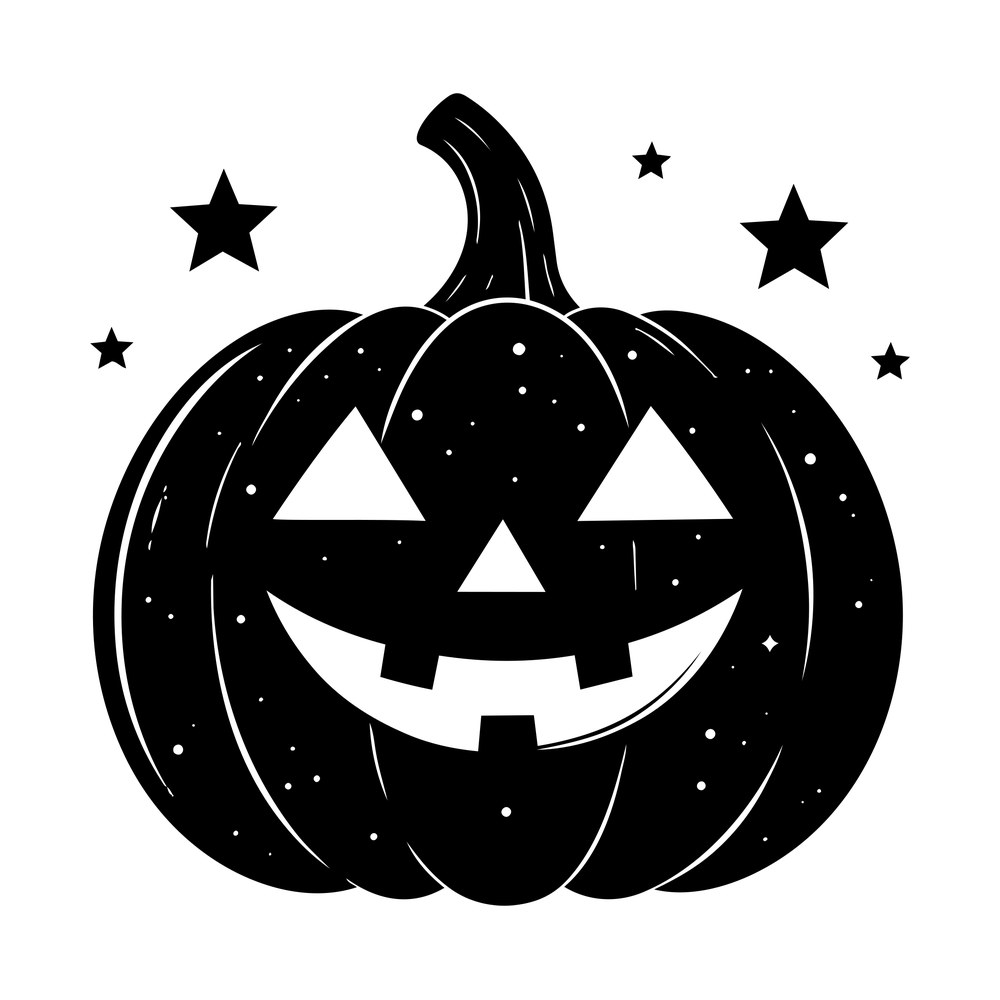
This is the design to reach for when a customer wants 'traditional Halloween' without cute or spooky leaning too far either way. The ribbed body and tiny dot details are fine but forgiving, so it holds up at both toddler scale (6-7 inches) and adult tee scale (10-11 inches) from the same file. Cut it in orange HTV with a black nose and mouth layer, and keep your mat's grip fresh — small dots are the first pieces to go missing on a tired mat.
Get this design · $0.89SVG · PNG · DXF · EPS
10. The Steam Detail That Separates a Good Cut From a Great One

The thin curling steam line is the one part of this design that punishes a dull blade or old mat, so swap both before you cut if either is showing wear. Once it's cut cleanly, the cauldron reads instantly as Halloween decor — press it in black HTV onto a canvas tote at a lower 280°F for 15 seconds to protect the canvas weave, or cut it in 651 vinyl for a front door sign.
Get this design · $0.89SVG · PNG · DXF · EPS
11. A Full-Color Mouth Built for Print-and-Cut, Not Layering
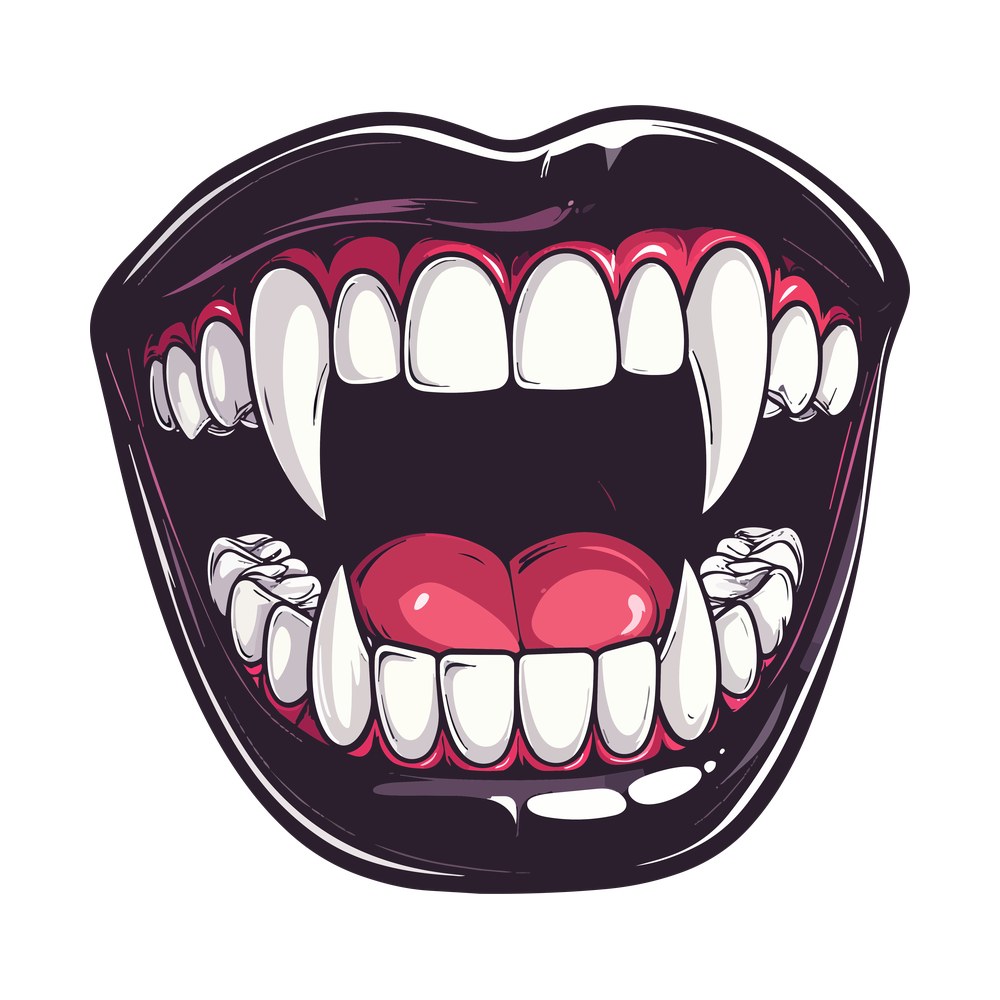
With plum lips, hot pink gums and a glossy shine all in one piece, this is a print-and-cut job, not a layered vinyl one — send it to a printable sticker sheet rather than cutting solid colors by hand. Laminate before cutting for a laptop sticker that survives daily handling, and size down to 2 inches for a trick-or-treat bucket label or party favor jar. Use the 'more pressure' cut setting on printable vinyl since the laminate layer adds thickness.
Get this design · $0.89SVG · PNG · DXF
12. An Intricate Frame That Photographs Beautifully on Tumblers
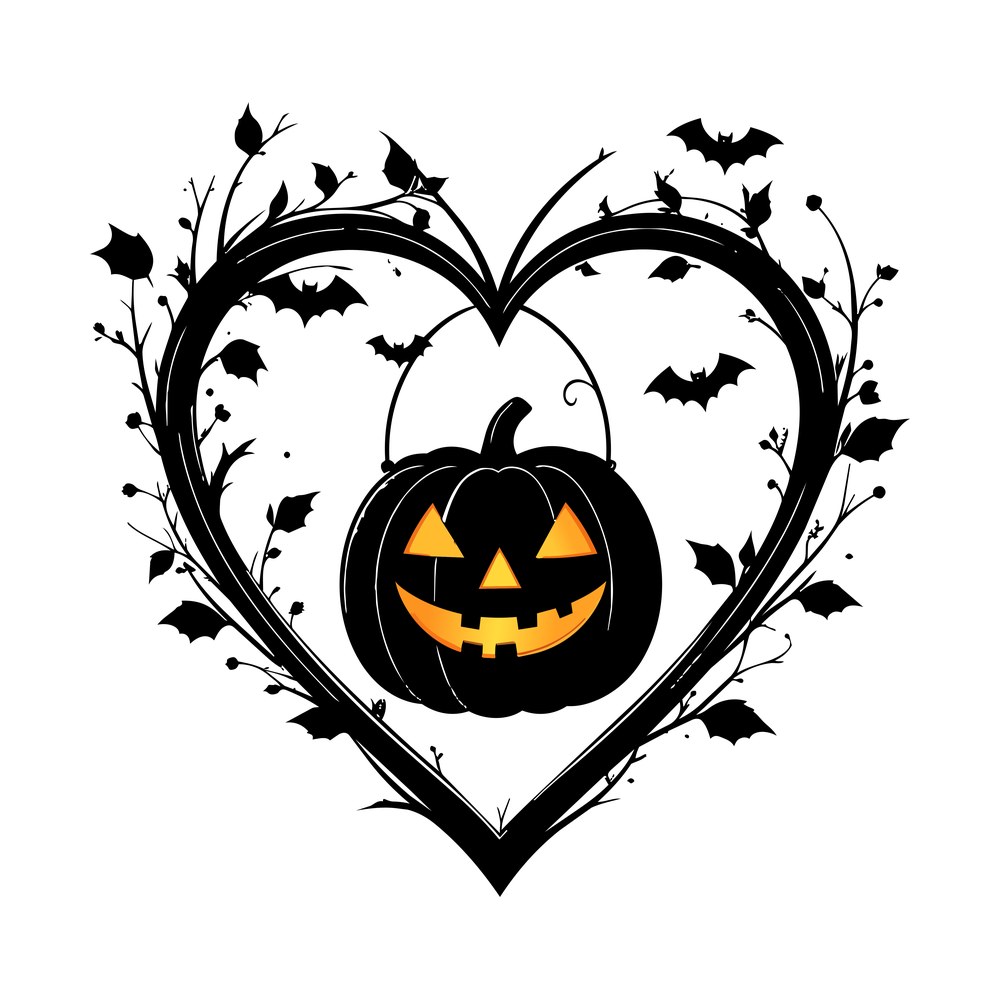
The branch, berry and bat details make this the most intricate design in the set, so mirror it correctly for HTV and go slow when weeding the tiny berries and bat wings — a tack tool saves you here. Sized to wrap a 30 oz tumbler (about 10 x 8.75 inches before wrapping) it looks like a full illustration rather than a sticker, and it holds up just as well at 9-10 inches on a tee or printed onto a canvas candy tote bag.
Get this design · $0.89SVG · PNG · DXF
Five Things to Get Right Before October Sells Out
- Mirror every design before cutting HTV — Cricut Design Space won't warn you, and un-mirrored iron-on prints backwards on the shirt.
- Swap to a fresh fine-point blade for the eye, cauldron steam and heart-frame designs; dull blades tear thin lines instead of cutting them.
- Batch by press temperature: standard HTV at 305°F, canvas totes closer to 280°F, so you're not guessing between projects.
- Bundle a shirt, a tote and a treat-bag topper from the same design as a Halloween set — bundles outsell single items on Etsy in October.
- List Halloween SVGs by mid-September; search and sales both peak two to three weeks before the holiday, not the week of.
Quick answers
What's the best vinyl for a Halloween shirt that'll only get worn a few times this season?
Standard HTV is the right call — it's cheaper than glitter or holographic and still holds up through several washes if you press at the right temperature. Save the premium HTV finishes for higher-priced items where the shine justifies the cost.
Do I need a Cricut Maker to cut these, or will an Explore work?
An Explore Air 2 or Explore 3 with a fine-point blade handles every design in this roundup, since they're vinyl and HTV cuts rather than direct fabric or leather cuts. A Maker's rotary blade isn't necessary here — it only helps if you're cutting the shirt fabric itself.
How small can I size these designs before the details disappear?
Simple line-art pieces like the vampire teeth doodle hold up down to about 2 inches, but detail-heavy designs like the heart-frame or the striped candy corn need at least 3-4 inches so the small elements don't fill in when pressed.
Pick one design, one product, and cut it this week while you've still got a full October ahead of you. Start with an easy one-layer piece like the tombstone badge or candy corn if you're newer to weeding, then work up to the multi-color mouths once you're warmed up. Either way, the settings above will get you a clean press on the first try.